在浏览器中通过 importmap 使用 ES 模块
ES 模块简介
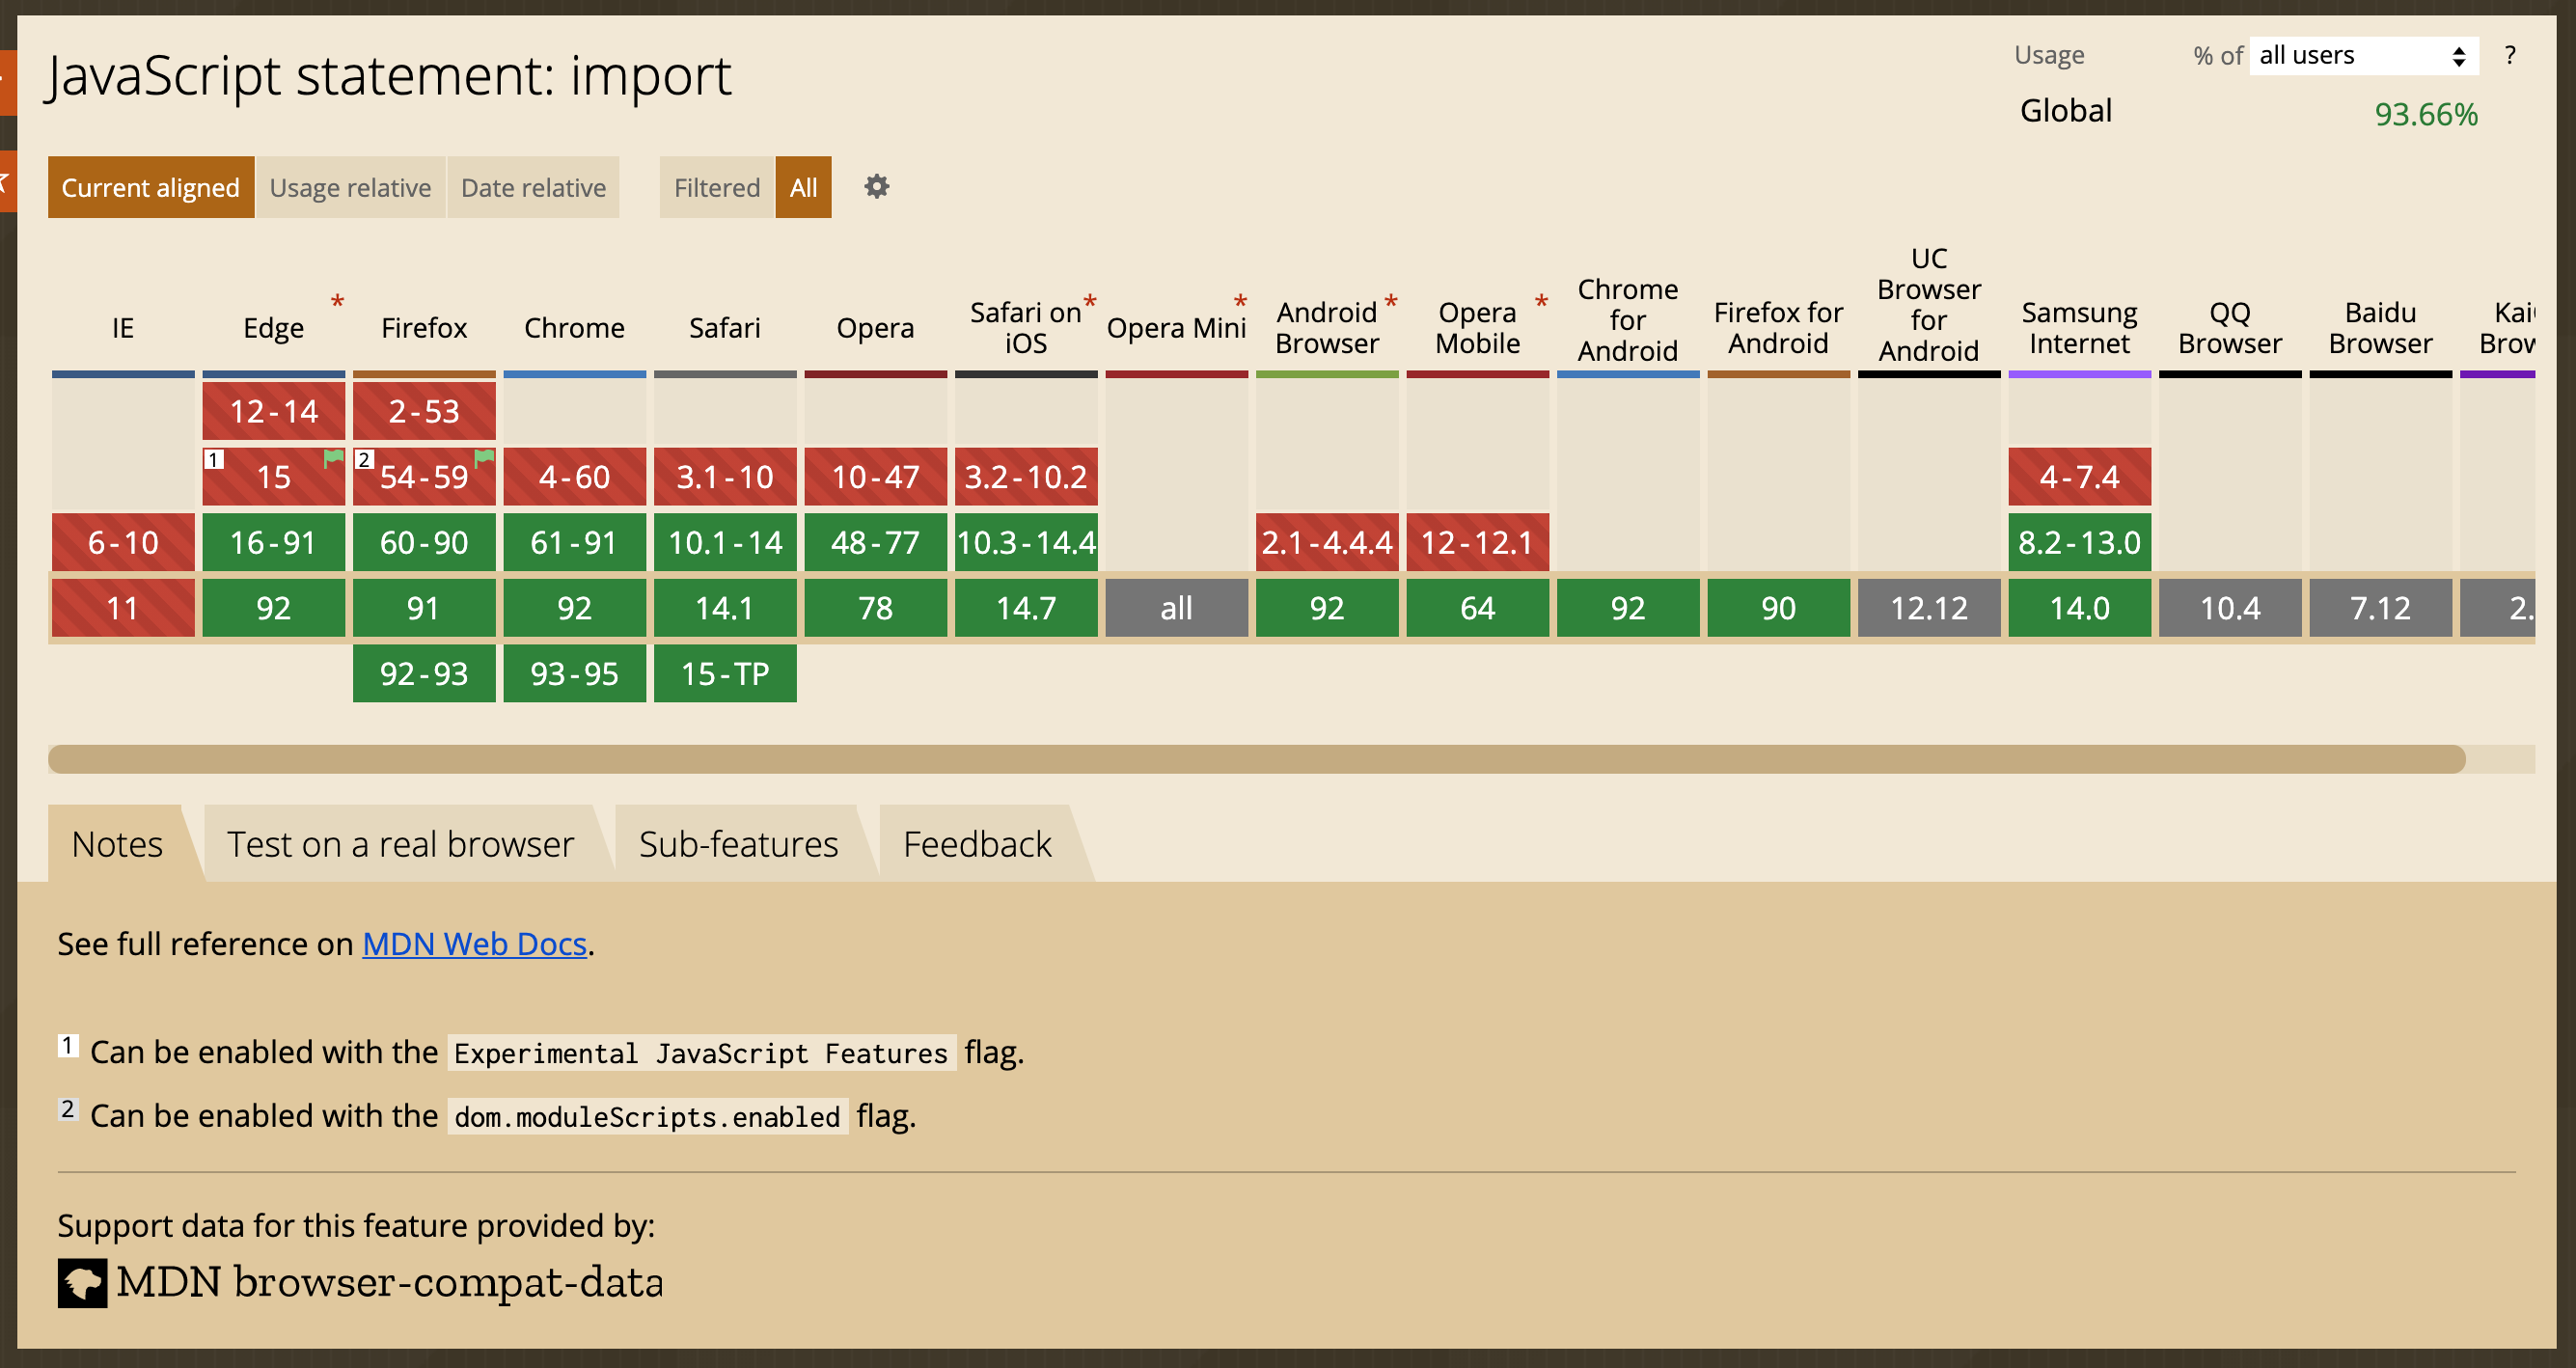
ES Module 是 JavaScript 模块化的官方标准, 目前主流的浏览器已经实现,不依赖任何第三方加载器 (Loader) 即可使用。
在浏览器中, 可以这样使用原生 ES 模块化的 JavaScript 脚本:
// my_func.js
export function my_func() {
  /* function content goes here */
}
<script type="module">
import { my_func } from './my_func.js';
my_func();
</script>
浏览器中只支持相对路径或者绝对路径下的 ES 模块 (
./,../,/,http://,https://) , 同时也受服务器跨域请求策略、 HTTPS 策略的约束。
import-maps 简介
在 Node.js 环境下, 可以这样导入全局模块:
import * as _loadash from 'loadash';
Node.js 会自动从 node_modules 目录中去加载对应的模块, 但是浏览器默认不会这样做,因为不知道从哪里加载全局模块。
import-maps 就是为了解决浏览器中的全局模块而出现的, 目前浏览器的支持情况如下图所示, 基于 Chromium 的浏览器已经实现这个功能。
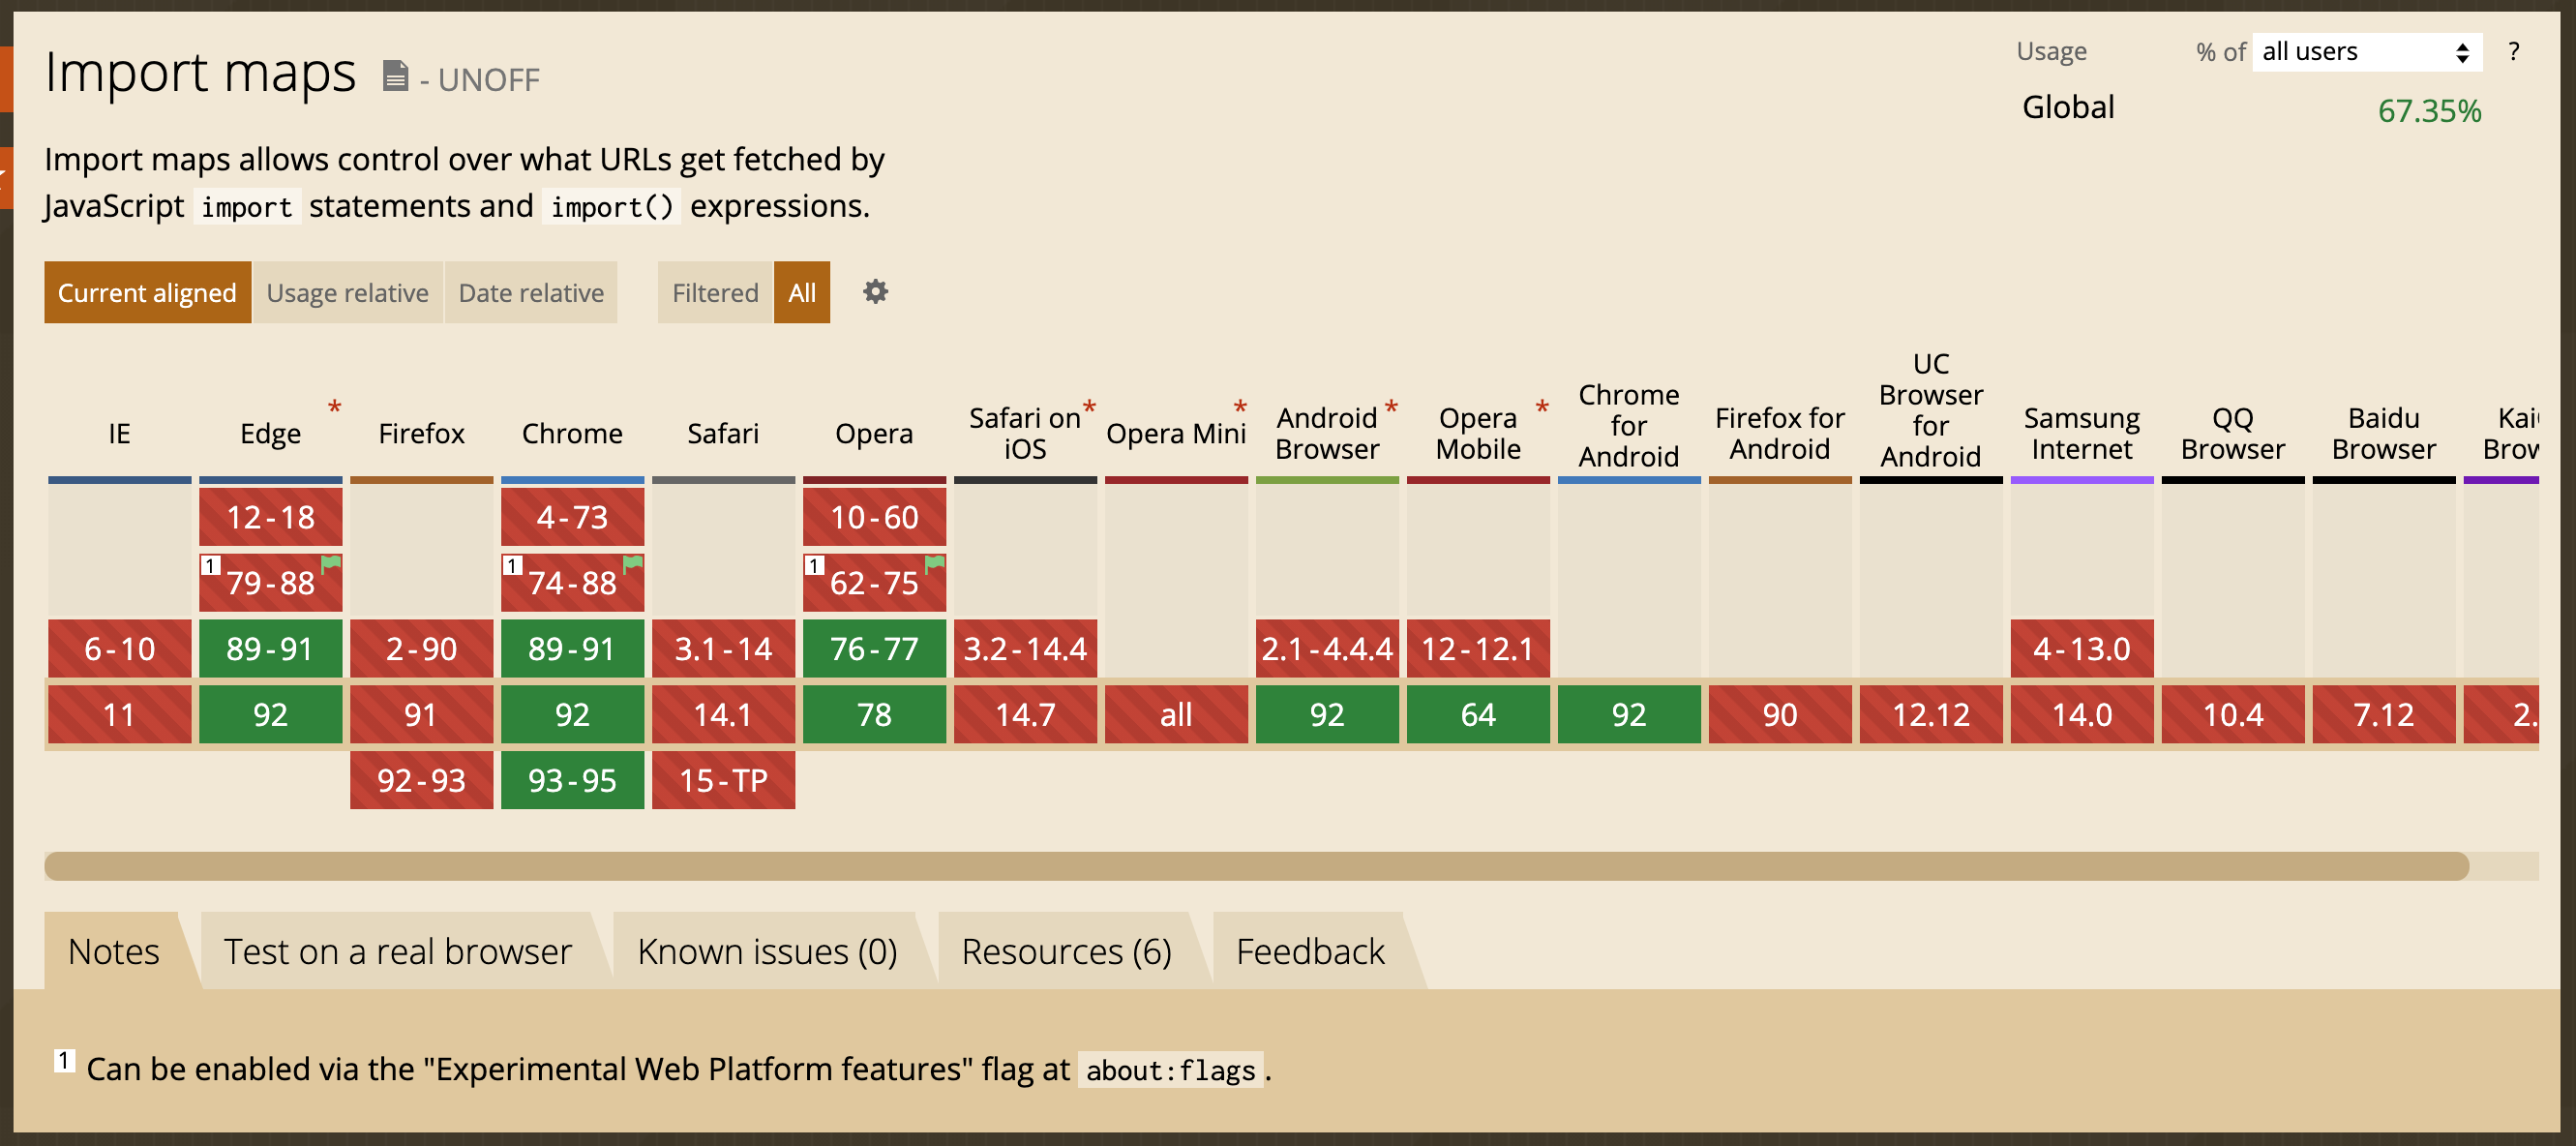
对于不支持
import-maps的浏览器, 可以使用 es-module-shims 进行处理。
import-maps 使用 Json 的形式来定义浏览器中的全局模块:
<script type="importmap">
{
  "imports": {
    "loadash": "/libs/loadash/index.js",
    "jquery": "/libs/jquery/index.js",
    "three": "/libs/three.js/three.js",
    "three/examples/": "/libs/three.js/examples/"
  }
}
</script>
全局 ES 模块的定义分两种形式:
- 通过别名指定模块的地址, 适用于只有一个 js 文件的模块;
- 通过路径指定模块的目录,适用于多个js文件组成的模块;
有了上面的 importmap 定义, 可以在浏览器环境中这样使用全局模块:
import * as _loadash from 'loadash'; // 自动加载 /libs/loadash/index.js
import $ from 'jquery'; // 自动加载 /libs/jquery/index.js
import { Scene, WebGLRenderer } from 'three'; // 自动加载 /libs/three.js/three.js
import { CinematicCamera } from 'three/examples/jsm/cameras/CinematicCamera.js' // 自动加载 /libs/three.js/examples/jsm/cameras/CinematicCamera.js
在浏览器中使用 import-maps 和 ES 模块
下面以两个具体的示例, 来说明怎么在浏览器中使用 import-maps 和 ES 模块。
-
在浏览器中直接使用 Vue3 提供的 ES 模块
<!DOCTYPE html> <html lang="zh-cn"> <head> <meta charset="UTF-8"> <meta name="viewport" content="width=device-width, initial-scale=1.0"> <title>Vue</title> </head> <body> <div id="root"> </div> <script type="importmap"> { "importmap": { "vue": "https://unpkg.com/browse/vue@3.2.2/dist/vue.runtime.esm-browser.js", "vue-router": "https://unpkg.com/browse/vue-router@4.0.11/dist/vue-router.esm-browser.js" } } </script> <script type="module"> import { createApp } from 'vue'; const app = createApp({ template: '<div></div>', data(): { counter: number; } { return { counter: 0 }; }, mounted(): void { setInterval(() => { this.counter ++; }, 1000 ); } }); app.mount('#root'); </script> </body> </html> -
在浏览器中直接使用 ArcGIS JS API 4.20 提供的 ES 模块
<!DOCTYPE html>
<html lang="zh-CN">
<head>
  <meta charset="UTF-8">
  <meta http-equiv="X-UA-Compatible" content="IE=edge">
  <meta name="viewport" content="width=device-width, initial-scale=1.0">
  <title>ArcGIS JS API ES Module Demo</title>
  <link id="mapstyle-link" rel="stylesheet" href="https://js.arcgis.com/4.20/@arcgis/core/assets/esri/themes/dark/main.css">
  <style>
  html,body,#mapview {
    width: 100%; height: 100%; margin: 0; padding: 0; overflow: hidden;
  }
  </style>
</head>
<body>
  <div id="mapview"></div>
  <script type="importmap">
  {
    "imports": {
      "@arcgis/": "https://js.arcgis.com/4.20/@arcgis/"
    }
  }
  </script>
  <script type="module">
  import Map from '@arcgis/core/Map.js';
  import MapView from '@arcgis/core/views/MapView.js';
  import * as intl from "@arcgis/core/intl.js";

  intl.setLocale('zh-CN');

  const map = new Map({
    basemap: 'dark-gray-vector',
    ground: 'world-elevation',
  });

  const view = new MapView({
    container: 'mapview',
    map: map,
    zoom: 7,
    center: [113.2, 23.4],
    viewingMode: 'global'
  });
  </script>
</body>
</html>
上面的示例都是使用互联网上的 ES 模块, 也可以将这些模块下载到本地来使用, 只需要更改 importmap 中映射的地址即可。